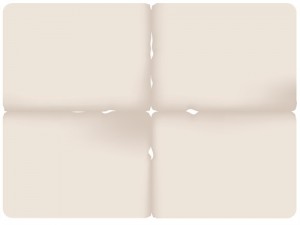
This tutorial explains how to make basic aged sheet of paper (with holes along the folding lines) in Adobe Illustrator without any scanned refs. Level of Illustrator skill: intermediate.
1. Create a new document in Illustrator. For this tutorial I made 800 by 600 px canvas. Name your first layer “Paper”.
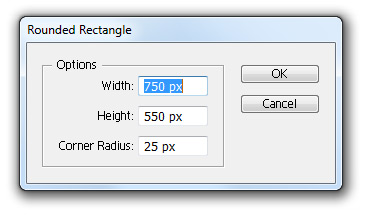
2. Select Rounded Rectangle Tool. Click anywhere on the canvas to get the rectangle dialog. Set height, width and border radius. I have used border radius of 25px. Set fill color to #D5C7BA.
3. Copy your rectangle (further on we will call it “sheet”). Create a new layer. Lock “Paper” layer. Paste sheet rectangle to the new layer in exactly same position as original rectangle by hitting CTRL+F. Name new layer “Folds”.
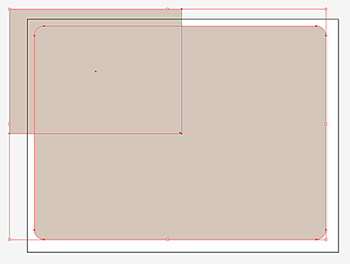
4. Now we will cut up the sheet rectangle into smaller, fold, rectangles. You can have as many as you want. In this tutorial we will have 4. Hit M to call Rectangle Tool. Create rectangle a little wider and taller than half of the sheet rectangle. Place new rectangle over the sheet rectangle so it covers top left quarter of it.
ALT + drag smaller rectangle to duplicate it and place duplicates over the remaining 3 quarters of the sheet rectangle. Select all 4 smaller rectangles and hit CTRL + [ to place them behind the sheet rectangle.
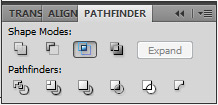
5. Now select the sheet rectangle and CTRL + F copy it 3 times. You have just stacked 4 sheet rectangles on top of each other. Select sheet rectangle (you will automatically select the top one) and top left fold rectangle. Click INTERSECT button on your Pathfinder Panel.
Repeat this with the rest of fold rectangles. You will get 4 fold rectangles perfectly aligned on top of the paper rectangle, each having one outer rounded corner. Select them all and change their fill color to #EDE3D9. Yes, we are making a sepia paper:) .
6 . Select one fold rectangle and drag it away from its neighbors. It will be easier to edit this way. Hit U to call Mesh Tool and click some 50 – 100 px up and left from the inner corner of the folded rectangle you are working on. Hit A to call Direct Selection Tool and, holding down SHIFT button, click to select all mesh points on the inner sides of fold rectangle. With those points selected, change the fill color to #D4C6BA.

Select mesh points on inner fold rectangle sides. Change fill color. Click to enlarge this thumbnail.
Now we got the shade, which appears on paper sloping down to its fold. You can drag mesh points and its handles with Direct Selection Tool to play with the shade. You can also add more mesh points to get more elaborate and realistic shading.
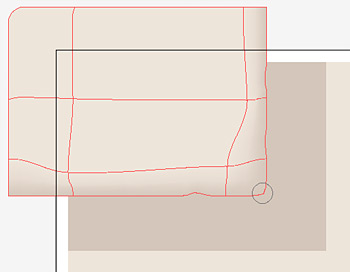
7. Now comes the fun part: aging and “tearing” the paper. Hit SHIFT + R to call the Warp Tool. Double click the Warp Tool icon to get the settings dialog. Change width and height of the tool to cc. 30 px. Slightly pull inner sides of the fold mesh to the inside here and there. And do the same for the non-rounded corners.
After you finish editing first fold rectangle, repeat steps 6 and 7 (Making Mesh and distorting the shape) with the other 3 fold rectangles. *At this point you need to hide the Paper layer, if you already didn’t, so you can immediately see the “holes” between the folds*. While distorting the folds, it is best if the dints you make on adjacent sides of 2 folds are opposite of each other, because this will give you a more realistic look. Don’t forget to bring fold rectangles back to their original places after editing, so you can see and appreciate the final result. You can select and touch up your fold rectangles till you are happy with the result.
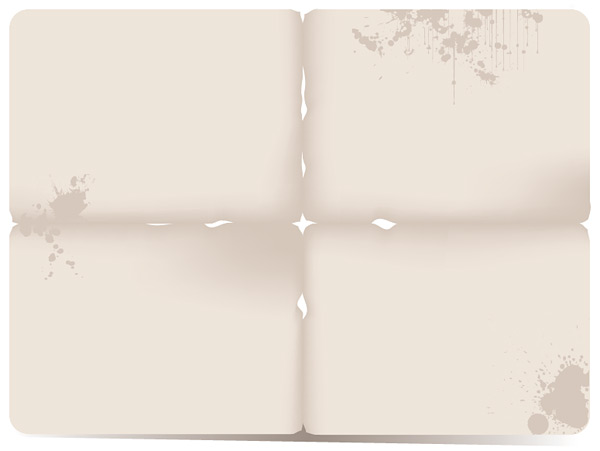
This is what I got:
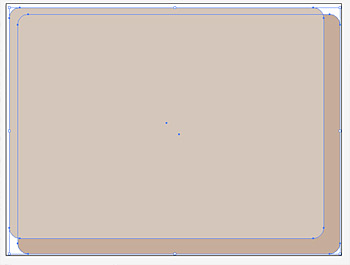
8. The last thing to add is a shadow below our sheet. Unlock and unhide Paper layer *you may as well rename it “Shadow” at this point*; lock and hide Folds layer. On Shadow layer draw one more rounded rectangle, a little bigger than Paper rectangle. Place rectangles approximately like this:
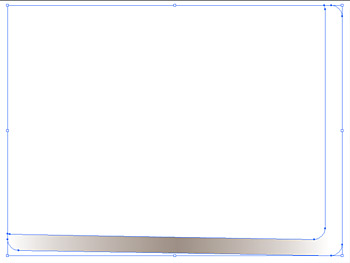
With both rectangles selected, hit Minus Front button on your Pathfinder Panel. With Direct Selection Tool select left corner of the resulting shape and drag it up a little (see screenshot below).
Now hit G to call Gradient Fill Tool and click the resulting “corner” shape with it. With shape selected, open Gradient panel, create a third gradient slider in the middle. Set left and right sliders to white, and middle slider to #9B8E84. Dragging Gradient Tool handle, adjust your gradient to look like this:
9. Now unhide *but don’t unlock yet* the Folds layer. Drag shadow shape closer to the folds layer. Now you can unlock Folds layer, and we are all done:).
The paper we’ve got is, of course, very basic. But it is a good foundation for your creativity. You can add some ink splatters to it. Or some grungy texture – to make it look even more old and shabby:).
Here are at least 2 very nice sets of free ink splatters (some of those splatters are included in this tutorial source):
http://free-vectors.com/paint-splatter-vector/
http://123freevectors.com/ink-paint-splatter-free-vector/
Most importantly, you can doodle or write on your aged paper with a graphic tablet!
I use my paper as background for my stock illustrations.

NB: if you intend to use old paper as part of stock illustration for sale, you will need to edit it, so it becomes your unique creation. You will also have to create your own ink splatters and grunge textures. The best way to do it is to actually splatter paper with watercolor paint, scan and custom-trace it.

